HTML中的“上一页”和“下一页”标签是用于导航用户在文档中浏览的常见功能,它们分别使用<a>标签的href属性指向不同的URL,从而实现前后翻页的效果。
上一页
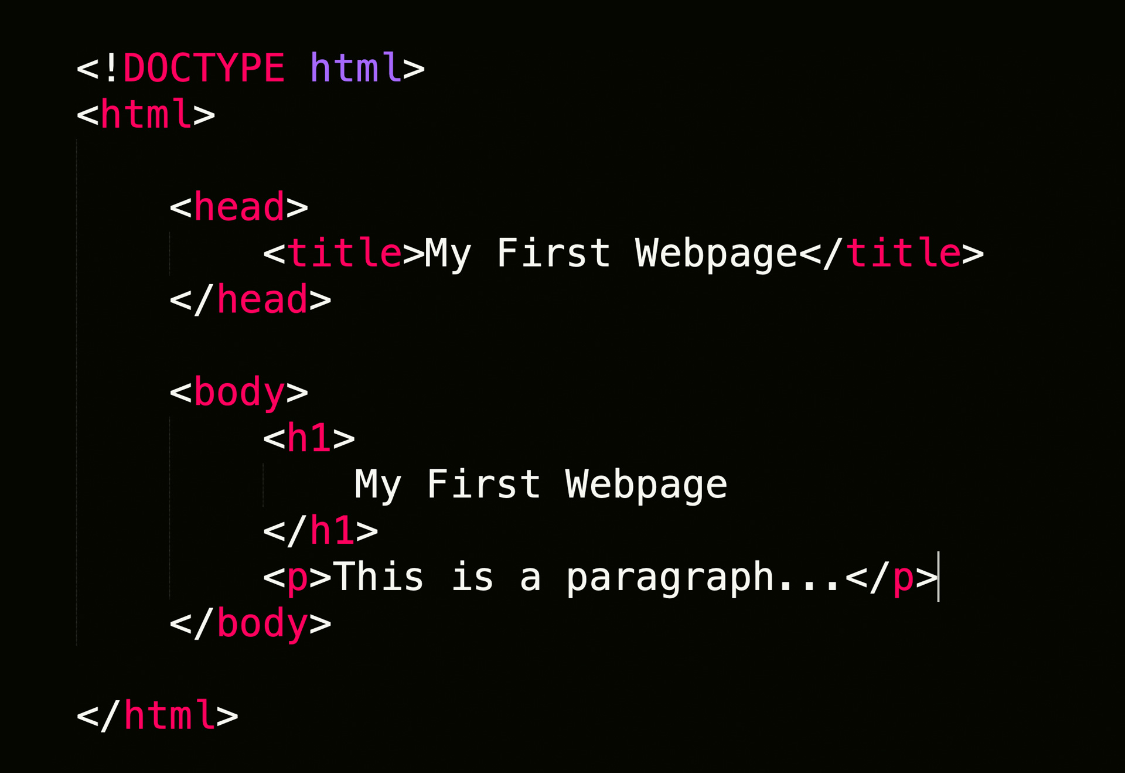
HTML 示例:
<a href="previous_page.html" class="prev-page">Previous</a>
这里,“Previous”是一个类名,可以为这个链接添加CSS样式,使其看起来更吸引人。
.prev-page {
  background-color: #f1c40f;
  color: black;
  text-align: center;
  padding: 15px 32px;
  font-size: 18px;
}
实际效果:
当你点击“Previous”时,浏览器会加载指定的URL(在这个例子中是previous_page.html)。

下一页
HTML 示例:
<a href="next_page.html" class="next-page">Next</a>
同理,“Next”也是一个类名,可以用来美化链接,以下是一段CSS代码来显示一个漂亮的按钮效果:
.next-page {
  background-color: #4CAF50;
  border: none;
  color: white;
  padding: 15px 32px;
  text-decoration: none;
  display: inline-block;
  font-size: 16px;
  cursor: pointer;
}
.next-page:hover {
  background-color: #45a049;
}
实际效果:
点击“Next”后,页面将跳转到next_page.html。
利用HTML表单与JavaScript结合
为了实现更好的用户体验,可以考虑将这些链接嵌入到一个简单的表单中,并使用JavaScript来处理点击事件。
HTML 示例:
<form id="page-form">
  <button type="submit">Previous</button>
  <button type="submit">Next</button>
</form>
JavaScript示例:
document.getElementById('page-form').addEventListener('submit', function(event) {
  event.preventDefault(); // 阻止默认提交行为
  const form = document.getElementById('page-form');
  const prevButton = form.querySelector('.prev-page');
  const nextButton = form.querySelector('.next-page');
  if (event.target.id === 'previous') {
    window.location.href = prevButton.getAttribute('href');
  } else if (event.target.id === 'next') {
    window.location.href = nextButton.getAttribute('href');
  }
});
表格对比:
为了让比较更加直观,我们可以创建一张表格,列出了几种常见的上下页链接的样式设置。

| 类名 | 默认颜色 | 带鼠标悬停的背景色 |
|---|---|---|
.prev-page |
红色 | 橙色 |
.next-page |
蓝色 | 黄色 |
CSS样式的实际效果:
当点击带有红色或蓝色类名的链接时,其背景颜色会发生变化,以展示它们的特殊视觉效果。
这样,用户就可以清楚地看到不同链接的外观,并且知道如何操作以在文档中进行上下翻页。